Ceiling insulation is an effective way of saving energy costs; it acts as a control for hot and cold temperatures. It is believed that an un-insulated house ceiling loses heat up to forty five (45%) percent more easily than an insulated house ceiling. Ceiling insulation also acts as a sound barrier between floors, hence its prolonged use and popularity. Installing ceiling insulation can be done through four (4) easy stages, but without proper fitting one may end up losing a lot of money in wastage and rework.
Stage One: Planning Stage
The very first step in any installation of ceiling insulation is the planning stage. At this stage critical decisions are made with regards to the surface area to be insulated, the type of tools needed, the type of insulation that will be needed and the quantity of material to be used for the job.
General tools needed
- Dust Mask
- Utility Knife
- Gloves
- Hard hat
- Goggles
- Duct tape
- Ladder
- Measuring tape
- Appropriate clothing
- Stapler
Stage Two: Selection stage
When selecting the type of ceiling insulation, it is essential to know the level of insulation. This is determined by a measure called the R-Value. The R-Value needed is variable on choice and climatic conditions resisting movement of heat and cold throughout the house, hthe recommended R-Value is R-38. The selection stage also embodies selecting between two main types of ceiling insulation, these are:
- Batts or Blankets- limits airflow and heat transfer due to the air pockets in their structure.
- Reflective Insulation- this acts as an insulator by reflecting heat, example: foil laminate.
Any insulation can be used with satisfactory results, however proper ventilation is necessary to prevent adverse effects from ceiling installation. This may include shade from trees or window blinds.
Stage Three- Execution Stage
- Ensure that gloves, dust mask and hat are worn as a protective measure.
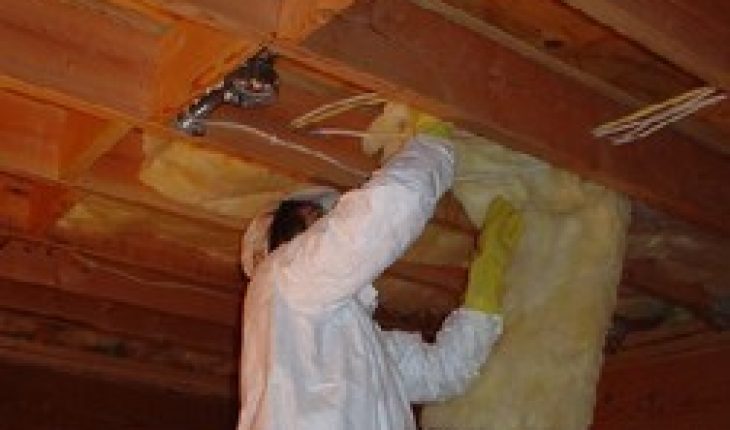
- Measure the length of rafters to be used and cut the amount of insulation needed with the utility knife. Hold up each piece with one hand while stapling the overhang on the rafters at approximately eight (8) inches on both sides.
- The sealing of all penetration is essential, additionally where wires are running, it is adamant to ensure no loose wires are in the ceiling as this may start a fire. Areas around wires, pipes and air ducts should be caulked carefully around walls thus ensuring that there is no escapable moisture. This can be done by using the utility knife and the duct tape.
- Measure the distance between rafters and cut ceiling insulator while stapling repeatedly until the entire area is covered. This should be done while pressing the insulation firmly in its place. Conversely if the ceiling insulation is compressed it will reduce the R-value.
Stage 4- Finalizing/Clean-up Stage
At this stage the installer should ensure that there are no open areas to accommodate escapable air, sealing will also help the cooling and heating system to function more effectively. Ensure that all areas are rid of debris and waste that could cause harm.