Learning to install crown molding is not an easy task. But with the right approach you can remove a lot of the tension and stress involved with the work.
Required Tools and Materials
Bench
Tape measure
Sawhorse
Hammer
Miter
Nails
Saw
Wheeled scaffolding (optional)
Utility knife
Prepare the Material
Start by choosing the style you like. Think of the style that suits your home and taste. Think over this carefully because once in place, it can be hard to remove.
Now determine the measurements. Assess how much material you need. Add about ten percent to your calculations. You’ll want to give yourself some leeway for any errors in measurement. Before you install crown molding, make sure that the workplace is clear.
Trimming
Use the tape measure to determine the needed length. Try to keep the incisions as few as possible. The advantage of using smaller cuts is that they’re less susceptible to wear and tear. The largest piece should be no more than 16 ft.
Apply paint or stain. It’s important that it be allowed to dry. Only when it has dried can you proceed.
Cutting the Angles
Get a bench when working. This will help you get more work done. Take the 2 x 4s and set on the sawhorse. Use this to aid the miter. Setting the right angles can be hard but this should help you install crown molding.
Joining the Pieces
Put the first piece into a corner. The next piece must be cope cut and be on the other corner. Use the saw to slice the piece. The profile should appear. Insert the molding upside down inside the miter container. In other words, it must face the roof.
Check that the longest inner edge is set at the bottom. Get rid of any extra wood but maintain the profile. Use the knife if necessary. Be careful when you cut so you don’t damage the structure. Just remember that one piece is to be straight. The other is to be mitered. When you install crown molding, let them overlap. Set them into place with nails.
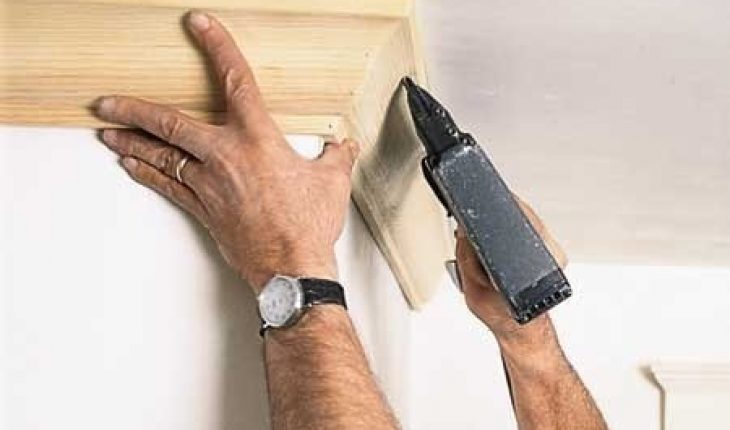
Remember to set a nailing area. This is necessary for the joints to be analogous to the molding. Get a 2 x 2 and make it a beveled cut. Fasten it to the wall corner and ceiling. Apply some wood putty to conceal the nail openings.
Setting the Right Working Conditions
Make sure there’s plenty of light around you. There needs to be electricity in the area. Because the layout is crucial, getting the right amount of visibility is essential.
You can also use scaffolding. For faster operation, the wheeled type will be more practical. If you are going to use this, make sure there is someone with you. That person will watch you from below. Also make sure that the wheels are stable. You don’t want it to come off when you’re working.
Trying to install crown molding can be taxing. The thing to remember is go slowly but surely. In due time you’ll be able to finish it.