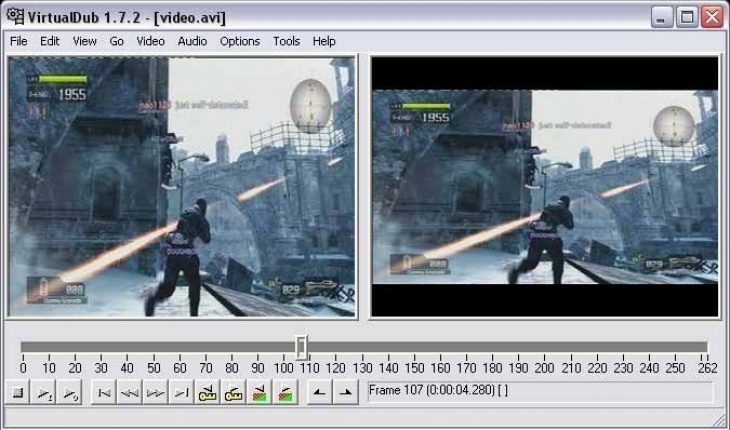
One of the most common ways of using VirtualDub is to merge AVI files. Below are the steps you need to follow.
How to Join AVI Files
Open VirtualDub and go to the Video menu. Choose Direct Stream Copy Mode. Go to the Audio menu and pick “Select Audio” and “Direct Stream Copy”. Open the file you want to start with.
When the file is opened, go to the File menu. Choose “Append AVI Segment”. Select the video you want to append to the other one. Go to the File menu. Click Save as AVI. Choose .avi from the extension type. Give it a name.
When using VirtualDub, the saving time will vary. The larger the video, the longer it will take to save. It all depends on your system specs. If you’re joining a full length film, it can take half an hour or so.
If you need to join more than two AVI files, just repeat the process described earlier. Make certain that the compression types are the same. Otherwise the fields won’t join up. Even if they do, it might not play back correctly.
Additional Options in VirtualDub
For multiplexing, go to File and choose Open. Load the WAV file. Turn Audio to Full. Enable Lame Mp3. Choose a CBR option. Click ok to close the screen. You can also find mp3 configuration options at the MPEG Layer 3 section. Continue using VirtualDub by pressing F7 and entering a name.
Synching
Start by selecting the video frame range. Choose a quick compression codec (DivX is a good choice). If the synch problem goes to the start, find the proper source placement. If the sound appears before the lips move, put on a negative displacement. Use a positive displacement if the problem is the opposite.
You can also change the frame rates. Press ctrl + R to bring up the Framerate configuration box. Here you can change the video frame rate speed (not the audio speed). Adjust the video speed until it synchronizes with the audio.
Another way of using VirtualDub is by assigning a lower frame rate. You’ll need to do this if the video is quicker than the audio. For example, you see the explosions before you hear them.
Change the setting in small increments (i.e., 0.002 fps). A fast audio codec is necessary. Don’t use mp3 because it’s too slow.
Cutting up AVI Files
Load the file and choose Video, Select Range. Choose the length by offset. Offset 2000 means the video terminates at frame 2000. When you’ve selected the parts, save the file. Ensure that video and audio are set to direct stream copy.
There are many other features in VirtualDub. You should spend some time getting familiar with the help file to get the most out of it. Remember though; if you’re editing full movies it will take a long time to do it.
Using VirtualDub to organize your video files is much easier than it sounds. Assuming you have the system resources, cutting and joining videos will be a quick process.