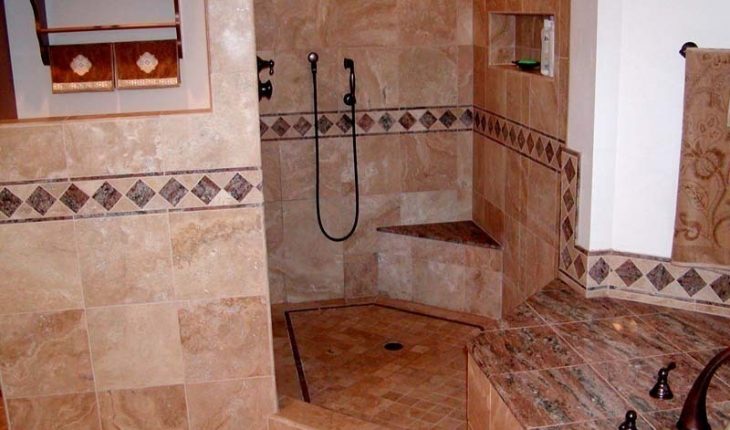
Even if you don’t fancy yourself as the DIY (do it yourself) type, tiling a shower is actually pretty simple. No matter how large the bathroom is, the process is basically the same.
Required Tools and Materials
Tiles
Cutting tool (for the tiles)
Trowel
Markers
Nippers
Tape measure
Choosing the Right Tiles
Those with a matte finish are the most ideal as they aren’t slippery. You can also use mosaic. The multiple grouted joints are especially attractive because incidents of slip ups will be reduced. These also work well on sloping surfaces.
There are also design tiles available. From an aesthetic viewpoint, these are best for large bathrooms. The smaller ones will end up looking cramped.
Smooth Surface
Before tiling a shower, ensure the floor is level. The shower pan must also be in good condition, whether it’s mortar or pre-fab. Use the trowel to remove any rough spots so the entire area is as flat as possible.
Measuring and Laying Down Tiles
Measure the bathroom floor area so you can get the right amount of tiles. Slice the tiles according to the desired sizes. Put the tiles on spacers. You can start at any point, but most like to begin at the end of the shower. Add the pieces one by one until you get to the opening.
Working around the Drain
Set the curve on a cardboard template. Transplant the line on the tile with a marker. Continue tiling a shower by making some relief slices. Use the nippers to shape the curve.
Put a latex altered thinset on the floor. Press the mortar upon it. Make certain that it is firm. Make sure that the shape conforms to the floor’s contour. The tiles should be dried overnight.
When it’s dried, take out the spacers. Grout the tiles and brush off any of the excessive grout. Close it with a sealer. You’ll need to put enough so that water will bead.
Tips and Warnings
Always follow the instructions on the tile package. You must read through them all to avoid any problems. By adhering to the guidelines there’ll be less chance of trouble occurring. Tiling a shower can be physically taxing so take your time.
Do not hasten the process, especially the cutting and drying time. The end results will not be satisfactory. While most dry overnight, there are some grout that take two days to fully dry. Just follow what is set in the guides.
Some tiles are very specific in their requirements; certain types of trowels must be used. Follow the instructions. You must also utilize the correct spacers. Most use 1/8” spacing for grout.
Do not grout everything at once; wiping must be possible, but don’t let it get too hard. Again, patience is required for this task.The point to remember when tiling a shower is to just persevere.
This process may take a long time especially if the bathroom is large. But you’ll be rewarded with a durable surface for your bathroom. The hours of work will be repaid by a sturdy and well designed flooring.