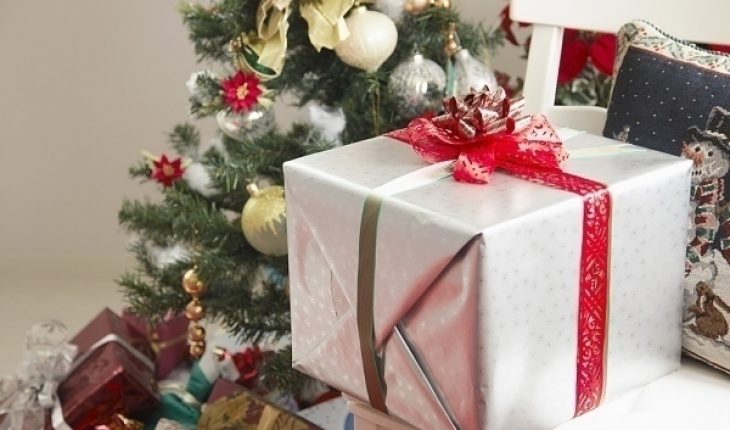
It is unnecessary to spend money on Christmas hampers from the store because they are easy to make and cost-friendly. By creating and personalizing your own hampers, you will be able to incorporate and customize gifts exactly the way the individual would want it. It is also, a great way for families to spend time together, especially when including children. Family and friends will love their gift as though it were a bought hamper, they might not even be able to tell the difference between a bought hamper and a made one!
You can also buy a range of items at affordable wholesale prices if you are catering for a large set of people in spheres of society. This way gifts can be grouped differently and mixed in correlating themes, allowing you to spend less especially if you are on a strict or tight budget. Another way of solving an economic turn point is to buy an item in the bulk and wrapping them to give as gifts. For example, you can buy a large set of clocks or notepads with pens and place them in cellophane bags to give colleagues in an organization .
Christmas hampers can take the form of anything that will be able to contain a certain amount of items, depending on the types and amounts of items you wish to give as gifts. They also include different elemental themes which vary based on the type of individual they are being made for, and the tastes of that particular person. Below is a guide to creating a food hamper for Christmas:
Food hamper
- Think about the individual you are making the hamper for and make a list of the foods that he/she find most enjoyable.
- Choose items that will most likely constitute food such as cakes, jams, sweets, chocolate, pickles, cookies, cheese, wine, pasta, peanut butter, jello, etc.
- The next step in creating your food hamper is to select the hamper, which can also be any container that supports the contents that you wish to place in it.
- Now, decorate your hamper using decorative items. These can include beads, shells, strings, strips of paper, foil, and various designs.
- The next step in completing your hamper is to place fluffy or fuzzy materials at the bottom of the hamper to give it a bulky, round look. These materials can range from elements such as colored cotton balls, pieces of newspaper or other paper. An artistic way of adding your own inventions and ideas to the hamper is to crumple pieces of foil or another item of your choice and placing it among the fluff or fuzz to add some dazzle to your hamper.
- Place the food items in the hamper and arrange the according to their size, weight, and fragility. That is, you will place the heavier, bigger, harder items at the bottom of the hamper and the smaller, lighter, softer ones on top. It there are not many items you can place the larger ones to the back and the smaller ones to the front.
- Place the hamper on an appropriate sheet of wrapping paper and pull the ends of the wrap upwards. Crunch it together in your hands and tie it with a ribbon or clip on a bow.
All that is left for your hamper is a Christmas note, or poem to make it even more personal and special !


