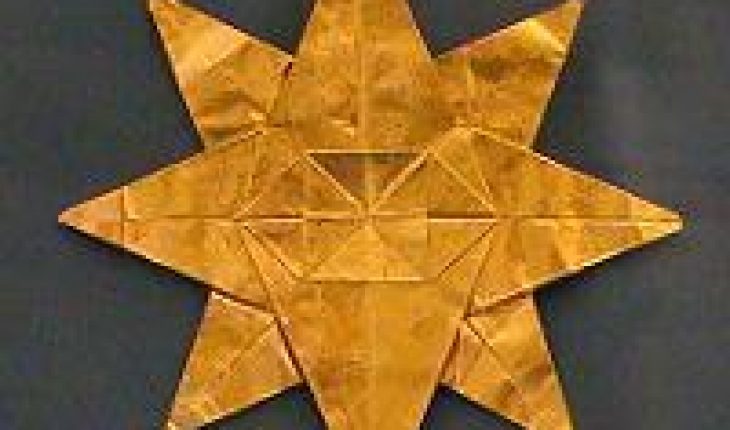
How to make an eight-pointed Origami star
Origami was first observed in Japan in the 700s, with the arrival of paper. It is simply the art of folding paper to create beautiful designs and was first introduced as gifts during the Heian period in Japan. Origami utilizes special paper or origami paper, the standard size of which is 6 by 6 inches or 15 by 15 cm . It should be square in shape, unless specified otherwise and comes in an array of different styles, for example, solid color, metallic color, tie-dyed, floral and geometric patterns.
Making the base of the star
The first step in making any origami design is in making the base, in this case, a bird base. To make a bird base, a standard square base is the first step and this is done by folding a square piece of origami paper on either diagonal. Afterwards, fold the paper at the North-South and East-West ends, creasing well. Turn the paper colored side up, and then make small folds known as valley folds on the diagonals and mountain folds or larger folds in the shape of mountains, on the North-South and East-West points. Simply collapse the paper along the folded lines to form a square. From this square base, lift the bottom end of the square base upwards and fold, creasing well, to form a triangle. Next, turn the paper over and crease the three corners. Lift the bottom corner and fold again. The bird base is now complete and should resemble a diamond-shaped kite.
Completing the eight-pointed Origami star
The next step is to fold the bird base in half, thereby forming two triangles. Then, turn the paper over and fold in half again. Now that the bird base has been halved, fold or sink the top end of the base and then unfold the paper.
After opening the paper, sink the centre tip by refolding it so that the valley folds now look like mountain folds and vice versa. Re-crease the diagonal folds carefully.
Finishing touches
To finish the origami star, push the centre point of the paper inwards , pushing from the opposite sides so both sides meet in the centre. The result should look like a triangle. Fold more than half of the triangle upwards, leaving the tip sticking out over the edge. Turn the paper over and repeat this process. The two flaps that are visible at this point need to be folded, right flap over left. Then, turn the paper over and fold the tip so that it sticks out over the edge. Make two creases to the right and left bottom corners in the shape of small triangles ( valley folds). Repeat this step for the three remaining corners. After that is done, unfold the paper.
Finally, fold the paper on the diagonal so that the edges line up. Repeat this step for the other three corners and then turn the paper over. The completed origami star looks like a snowflake.